Without having access to city water, we’ll need to find a way to supply our new home with water. As with most elements of our build, half the fun is doing our research first. So, it was time to dig in and learn about wells, and water supply options. We discovered that there are 4 main types of wells used here on the Bruce Peninsula and in most places.
Types of Wells
1. Drilled Well
A drilled well consists of a narrow hole bored into the ground. It is lined with a casing to prevent collapse and to safely house the pump components. Generally, the further down you go, the better quality water you get. The entry point is then sealed with grout to prevent contamination from surface water.
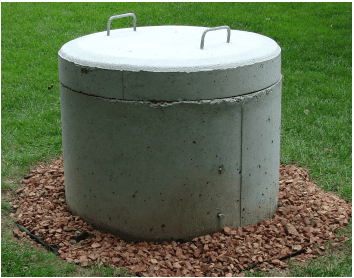
2. Dug Well
These wells are shallower, usually within 50′ of the surface, and tap into the nearest aquifer. You know you’ve reached it when the water comes into the hole faster than you can dig. The hole is then lined to prevent collapse. Older wells could be lined with wood or stone but these days concrete well tile is most commonly used. Since dug wells are shallow they are prone to running dry in the summer months and the quality of the water can be poor so you’ll have to budget for good filtration to ensure it’s potable.
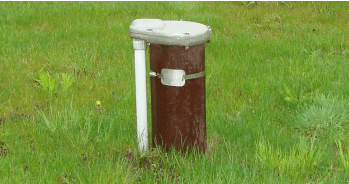
3. Driven Wells
Also known as Gravel or Sand Point wells, these wells are also quite shallow and prone to surface contamination. Driven wells are created by driving a small diameter pipe into a sand or gravel bed that bears water. Often there is a screened well head attached to the end of the pipe before driving it in. Driven wells are an economical way to get water if your geology allows it but they can be easily contaminated by surface water. As with dug wells, you’ll need a good filtration system to make the water safe to consume.
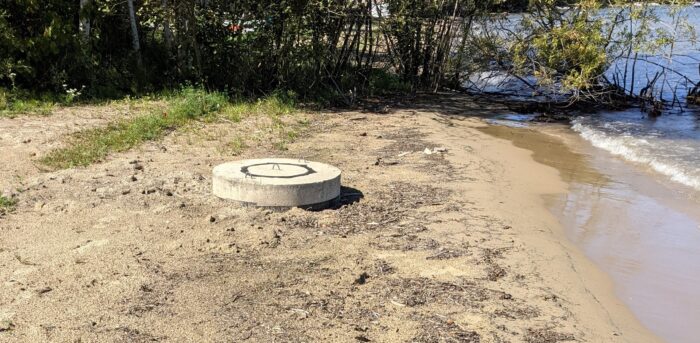
4. Shore Wells
If you’re lucky enough to have a waterfront lot, you may be able to draw your water directly from your freshwater lake. A shore well is fed by the closest aquifer to the lake or river bed. The well is excavated and encased, usually with a cement tile casing. Shore wells can be susceptible to fluctuating water levels and contamination. Diligent monitoring is required for shore wells.
The other option, less common in our area, for supplying a home with water is a cistern. It’s a big tank that’s fed either by a water collection system or by having water trucked in regularly from a nearby town.
We know that our lot is right on bedrock so a drilled well was our only choice – apart from a cistern. Step one completed, now it’s time to learn more!
Researching Nearby Wells
In order to prepare for contacting a well driller, we wanted to research other wells in our area. Our goal was to learn:
- How deep other nearby wells are to help us create a budget.
- Who drilled most of the wells nearby to point us to someone who’s familiar with the area and its’ hydrology.
Fortunately this information is easily accessible on the Ontario Well Records website. Here we were able to see where the wells are, how old they are, how deep they go, what kind of well it is, and who drilled it. That is a wealth of information!
Selecting Our Well Driller
I find this part amusing! It turns out that there are only a few really local well drillers even though there are a number who advertise as serving the Bruce Peninsula. These few drillers are all related but they’re not very friendly toward each other so they all have separate businesses. I searched and searched for the driller on record for having done our neighbourhood but I couldn’t find him listed anywhere. So, I just started calling the nearest ones.
After just a couple calls, I managed to find the son of the well driller on most of the records in our area and discovered that his father was retired. As luck would have it he just had a delay on another project and could do ours the following week! I think that was a total score considering we were warned that everyone was booked up for months. I thought I’d call ahead and be lucky to book someone for the following spring.
Pricing The Well
We learned that most well drillers will state their price by the foot plus materials. This makes total sense to me considering that no one can be sure how far down we’ll need to drill and therefore how much casing could be needed.
What You’ll Pay for on Well Drilling Day
- Price per foot for the drilling
- Well casing
- Well head / cap grout / sealing medium
- Flow measurments
- Registering of the well with the province (link)
Just because your well is drilled doesn’t mean work is done with this part of our new build.
What You’ll Still Need to Budget For
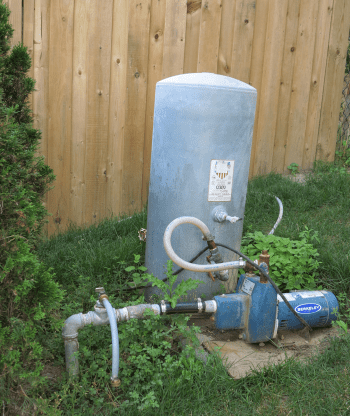
- Pump
- Pressure tank
- Lines & connection to the house
- Water filtration or treatment if needed (move this paragraph up one spot)
Placing Our Well
During our site meeting with Underwood Construction, we determined the placement of the house and the septic system. From that we were able to work out the location of our well.
Key Factors for Well Placement
- Proximity to neighbours wells & septic systems. Fortunately all the lots around us are vacant so we didn’t have to worry about this.
- Proximity to septic system. The rules may vary a little bit by municipality so double check your local regulations. The province sets minimums but there could be local variations beyond that. Fortunately our municipality sets this out very clearly online. For a drilled well with sealed casing to a depth off 6m² (approx. 18’) our well would have to be at least 15m (approx. 45’) from the distribution pipes
- Proximity to the house. We wanted our well to be fairly close to the foundation of the house, but not too close to make grading or access around the house troublesome. We also didn’t want to have to run our supply pipe too far or risk it freezing because it could be shallow (since we’re on rock).
In our area we don’t need to file for a well permit so it seems no one is verifying our well’s location until the site plan is submitted for the building permit. We still wanted all these items covered. With that, we carefully marked out our location and were ready to drill.
Well Drilling Day – A Neighbourhood Attraction
I had to work on the day we our well was drilled but Brian was able to attend. I received updates through the day and photos and video back at home that evening. Well, that’s almost as good as being there right? 😉
It was an early start for the efficient 2 man drilling crew. They verified the location with me by phone since Brian wasn’t there yet. I verified that yes, indeed, spot marked with a rebar stake and a big “X” on the ground was correct. I’m glad they called though, it’s always good to double check as there can be multiple things marked out on a building site. They set up and got drilling without a fuss.
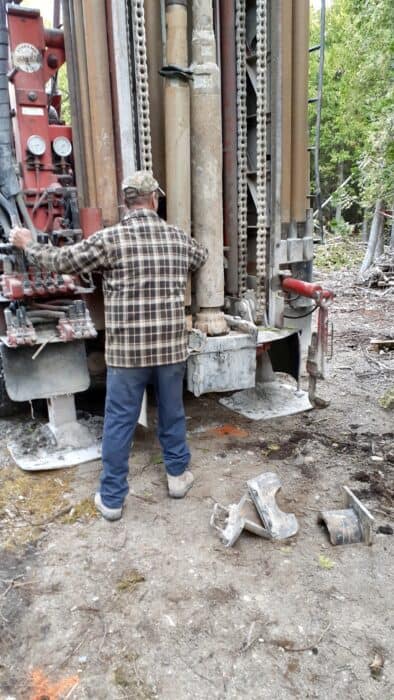
And then something completely unexpected happened! Our lot became a neighbourhood attraction. Men seemed to come out of nowhere! Apparently the men in the nearby homes and cottages couldn’t contain their curiosity for long. One by one they stopped by to see what was going on.
It’s a good thing they did too as it provided Brian wealth of local with a history, anecdotes and company while the drillers did their thing. He learned, for example, that the cut that we thought was a logging trail through the centre of our lot was in fact the original laneway for the waterfront lot across the road. So ours wasn’t a fresh new driveway cut in as we suspected; it was simply beefed up a little bit from the original lane.
Back to the well drilling …
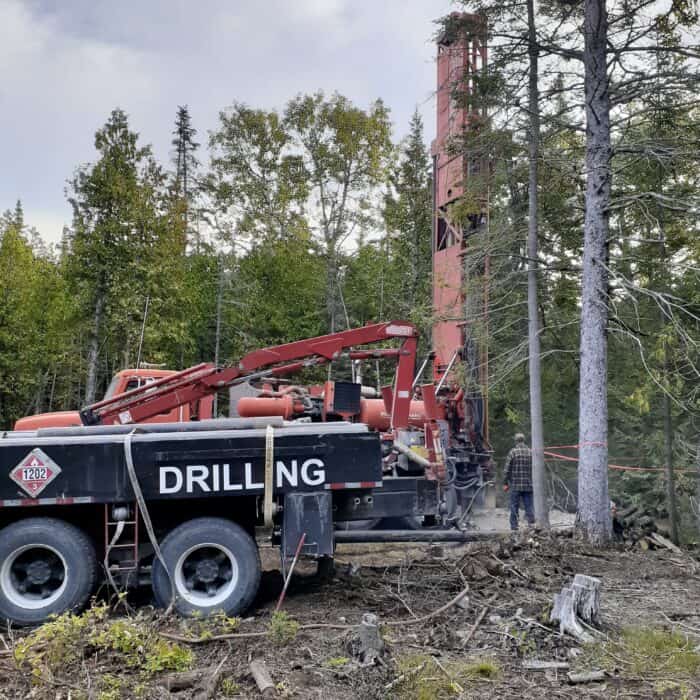
Not long after they started drilling, water started to gush! Don’t get too excited though, that was just a shallow pocket of surface water. The machines kept going, adding steel casing as they went. When it gushed again, Brian was advised that they had hit a shallow aquifer and they needed to keep going to ensure a reliable water supply.
Keep drilling!
As they drilled they added steel casing to protect our final water source from surface contamination. After 20′ they were able to stop adding casing. Eventually, the water really gushed! They let it run for about 10 minutes before putting a meter on it and made their calculations on the flow rate. Luckily it tested with a good, strong, ample supply for any residential home. The whole process for us took 3-4 hours. That’s a pretty useless piece of information considering that each lot, each area will have its own geology/hydrology to work with.
While we don’t yet know the quality of the water or what/if any treatment may be needed, thanks to the neighbours’ visits, we know how they treat their water so that gives us an idea of what we’ll be in for. And even though we don’t have a way to access it yet, we have one more thing checked off our to-do list to prepare for our new home.
Recent Posts
7 Totally Selfish Reasons to Choose Native Plants for Your Gardens
Grab a cup (or glass) of your favorite beverage, and let's delve into what I’ve learned so far about why it's incredibly important and wildly selfish to embrace landscaping with locally native...
Exploring the differences, benefits and drawbacks of Broadcast Sowing and Frost Seeding for Native plants.

