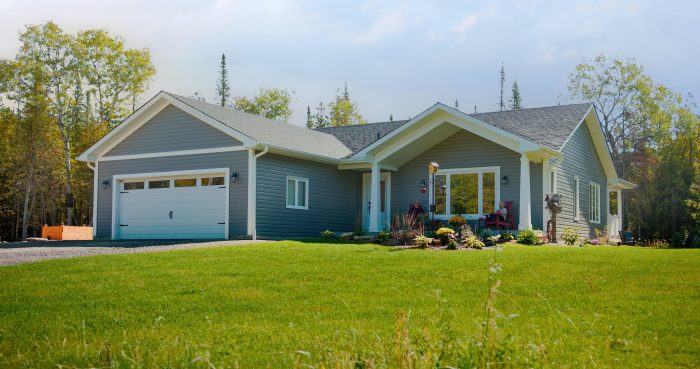
I can’t believe I haven’t posted anything about our landscape plans since last winter! We didn’t even have possession of the house yet, and I was just at the research stage back then. I guess we got busy settling in while winter continued. Then, once the snow started to thaw – oh BOY did we kick into high gear! The first area to tackle was the front entrance and foundation planting. In this post I’ll review why we chose to have a lawn, the steps we took to create our gardens, and what I planted to get started.
Here I was thinking I’d have time to draw out a few options for the front garden bed but nooo! As soon as the half-load season ended (trucks can only carry half loads while the frost leaves the roads in order to prevent damage to the asphalt) we had Underwood Construction back for final grading and topsoil installation.
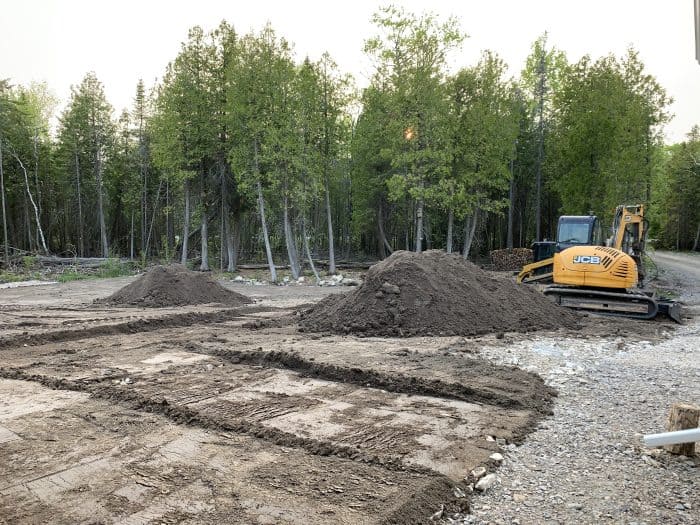
We had the most attention paid to the front entrance and south-side yard as that would be the first zone we’d work on finishing. Of course we could have hired a landscaping company to come and finish everything in one shot, as many people do with new builds, but we’re more the DIY and evolution kind of people so this might take us a while. (That’s a good thing for blogging fodder don’t you think?!)
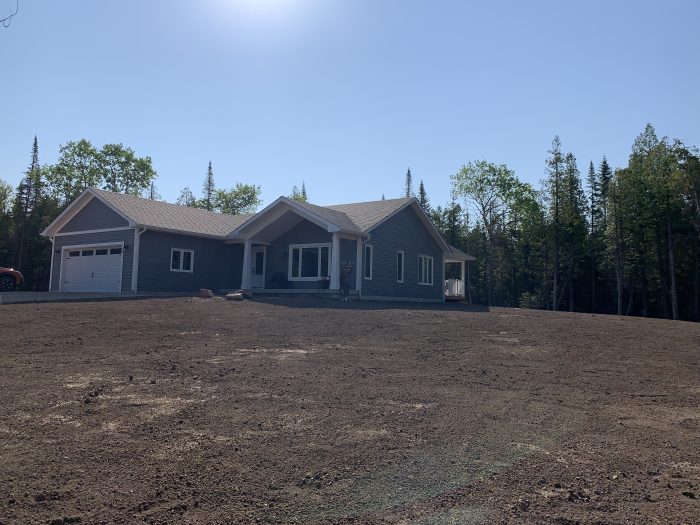
Why we chose to keep some lawn in our native landscaping plan.
You might be curious as to why we’d want any lawn at all. Aren’t we supposed to have a native meadow if we’re wanting to truly help our environment? My answer is … yes, but …
- Grass is a good cover for a septic system. Yes there are wildflower mixes that are designed for septic beds but I haven’t found any that are 100% native to our area and the volume of seed required would be quite costly I’m sure. Plus, technically, our municipality requires grass seed to be sown in order to close the permit.
- I like grassy areas. We hope to have grand-kids visit one day and I’d like to have a soft play area for them as well as areas to explore and learn.
- Lawn areas create a good visual buffer between landscape features. Think of it as bringing a little bit of the minimal-ish style inside to the outside.
I think this is where my tag-line “simple living in a modern world” takes on it’s meaning. For me, it’s about balancing my love of nature with an appreciation of modern conventions. It’s certainly not for the sake of fitting in, it’s about celebrating the best of both worlds as much as possible.
Hydroseeding Our Lawn
Once the topsoil was down and leveled, we figured we’d better get some grass growing before the weeds took over. Using our experience with direct seeding grass seed in small areas, some online research and quick cost/time analysis, we decided to get the lawn area hydroseeded.
What is Hydroseeding?
Hydroseeding is a process of planting seeds mixed with paper, wood based mulch, and starter fertilizer mixed with water and sprayed on the site. This process results in a sort of mat that retains moisture well and provides an ideal environment for fast germination and initial growth. Hydroseeding also provides erosion control and prevents seeds from washing away as soon as it is applied.
Benefits of Hydroseeding vs. Direct Seeding Your Lawn
We chose hydroseeding because:
- Even distribution of seed
- More reliable germination rates
- Prevents soil and seed from washing away before germination/lawn establishment
- Cost effective – bulk grass seed is expensive at retail pricing and may require multiple applications to get the same germination that hydroseeding achieves in one shot.
A quick call to Instagreen Hydroseeding & Construction and we were scheduled for installation the next time they were in our area.
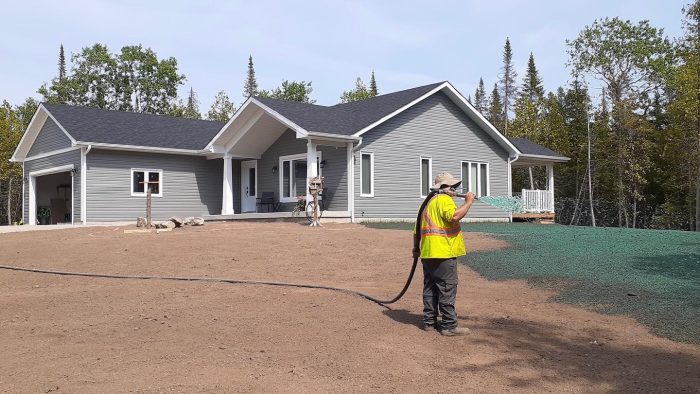
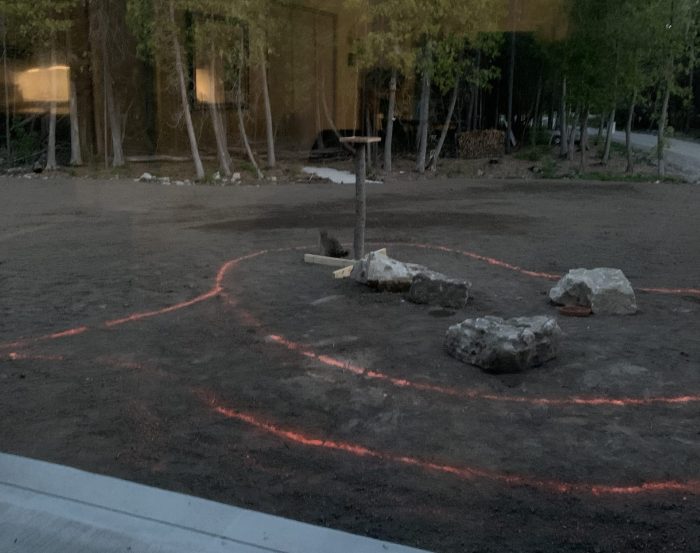
But wait! Before hydroseeding happened, we quickly had to choose a garden layout so we didn’t get stuck digging out grass. Man, I hate digging out grass to create gardens!
All that being said, I could do with less lawn area than the 7000 sq’ we initially had laid out – but one thing at a time. At the very least, I’m hoping to replace any non-native grass varieties with native grasses if there are any varieties that could be environmentally problematic. We’d do that by over-seeding and out-competing the non-natives as time goes on. Alright back to the garden plans and plants!
Steps for Creating Our First Native Garden
1. Plant Selection
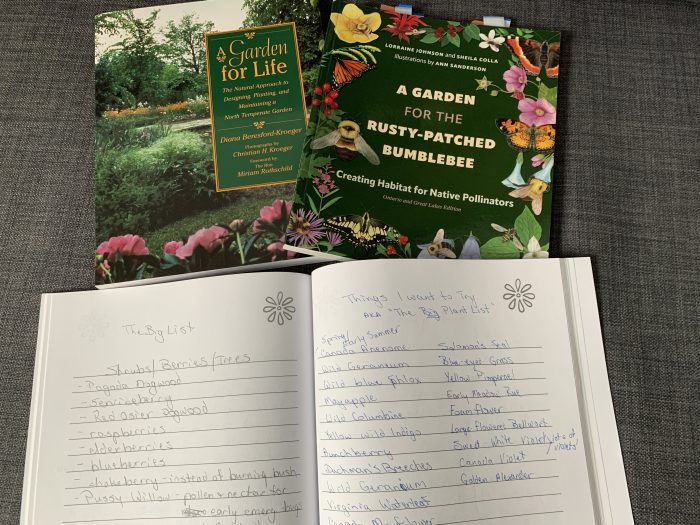
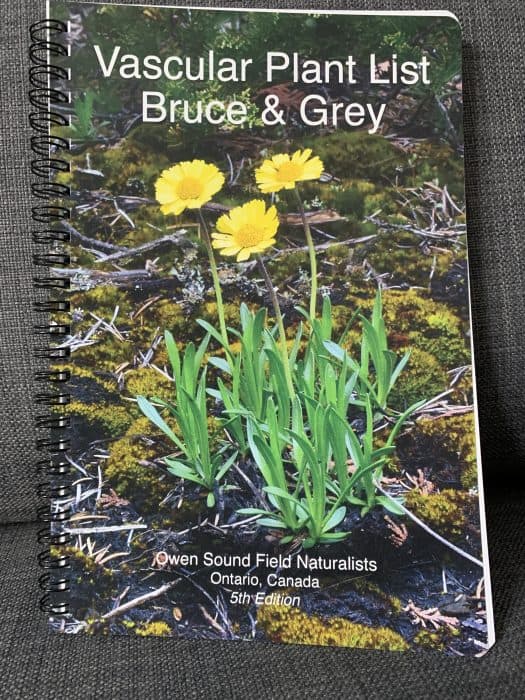
With my “big list” compiled by reading A Garden For The Rusty-Patched Bumblebee by Lorraine Johnson, and A Garden For Life by Diana Beresford-Kroeger, I had a very good starting plan for our front garden. I then referred to my local vascular plant list to make sure I was selecting native plants that truly belonged here – or at least close. Mine is compiled and published by the Owen Sound Field Naturalists and it covers Grey and Bruce Counties. You can check with your local Field Naturalists organization or refer to several online resources like Plant Native to find your local native plants.
2. Garden Layout
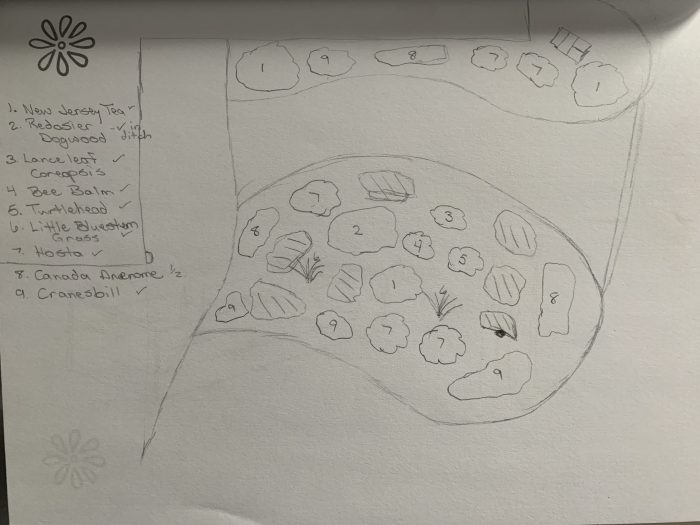
I knew my Certificate in Horticultural Studies from Sheridan College would come in handy someday! Armed with the principles of garden design I’ve learned formally (rusty as my skills might be), Diana Beresford-Kroeger’s book, Gardening From a Hammock by Ellen Novak and Dan Cooper (which was gifted to me a number of years ago) and some idea sharing and negotiating with Brian, we were able to design a pleasing shape and starting plant material list.
We have the gardens laid out so the hydroseeding could be done without any further stress. And we have a planting plan so we should be good to go!
3. Sourcing Native Plant Materials
Now comes time to source the plant material & get started! This is where my best resources come into play: my vascular plant list, google, and my feet. It’s time to hit the garden centers!
My first stop was at my favorite, and closest, garden centre. Unfortunately, I was only able to find cultivars of the native species here.
How can you tell a true native from the cultivar?
A true native will have only the genus & species in the name. A cultivar will have some kind of descriptor or extra name following it. For example:
| Common Name | Latin Name | Cultivar Indicator |
| Purple Coneflower | Echinacea purpurea | Green Envy |
| Bee Balm | Monarda didyma | Jacob Cline |
Why does using true native plants matter?
Research on this is ongoing but the findings so far indicate that the cultivars do not offer the same environmental benefits that the true natives do. This is typically because the cultivar will usually breed out one or more of the elements that birds, animals and insects need from the native plant for the sake of aesthetics within a landscape. In some cases the seeds may be sterile, or the delectable green leaves are now purple and bitter to the animals thus rendering the plant useless to your ecosystem. Just read or watch some of Doug Tallamay’s work like Bringing Nature Home for much more intelligent information than I could provide here.
Fortunately I was able to find lovely, local plant sources with just a little bit of extra searching. If you’re in Grey and Bruce Counties here in Ontario, please check out Rooted By The Bluffs (not your typical nursery so please visit their website and follow instructions), and Earthbound Gardens. Not only do they both have a good selection of plant material but their knowledge of the plants goes deep.
There are also a number of Native plant nurseries that provide online ordering and direct shipping. And for those of us also interested in planting from seed … well I’ll be writing more on that later but Northern Wildflowers is without a doubt my source of choice.
While not all the plants I had planned were available, I was able to substitute plants with similar form and habits where needed. That’s where my Vascular Plant List came in handy; I took it with me so I was able to check if the alternate plant was native or not. For the garden at the side of the house I really didn’t have much of a plan at all, but by carrying most of the plant material from the front, I think it should blend pretty well.
4. Start Planting!
Starting to plant with native plants is a little bit of a mind twist from everything I’d learned in school. This is because one of the interesting things about starting a native landscape is that you don’t have to spend a lot of time amending your soil or babying your plants. Yes, this does cause a bit of mental gymnastics because we’ve been conditioned into thinking that gardens need constant attention, and inputs like compost and mulch. Of course if you’re planting plants that don’t typically live where you are, they’ll need more help to get established.
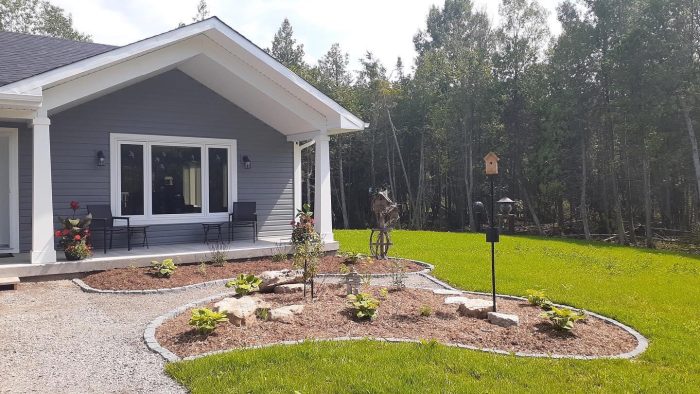
Native plants were here long before we were, so they’re used to tough conditions. We did add a few bags of compost to each bed before planting but no other fertilizer or amendments were used. After planting we mulched the beds to suppress any ambitious weeds that might be lingering in the fill and topsoil that had been brought in. Overall the effort seemed minimal compared to other gardens we’ve created at our previous homes.
What We Planted
Here’s what I planted this year – not including seeds – that’s for another post.
| Plant | Status | Note |
| Hosta | Not Native | Brought from previous home, might be deer food, we’ll see what happens! |
| New Jersey Tea Ceanothus herbaceus | Rare | |
| White Turtlehead Chelone glabra | Common | |
| Lance-leaf Coreopsis Coreopsis lanceolata | Uncommon | aka Tickseed |
| Wild Bergamot Monarda fitulosa | Uncommon | |
| Bicknell’s Geranium Geranium bicknellii | Uncommon | 80% sure of species. Rescued from the fill that was brought in. I’ll keep an eye on this one. |
| Canada Anemone Anemone canadensis | Common | This was a gift that turned out to be a Japanese Anemone. The two are easily mistaken but this was a non-native and potentially invasive so I pulled it as soon as it bloomed. |
| Little Bluestem Schizachyrium scoparium var. scoparium | Common | |
| Red Osier Dogwood Cornus sericea (stolonifera) | Common | I rescued this from too close to the driveway. |
| False Sunflower Helliopsis helianthoides | Introduced Native | Over 100 years and causes no risk. |
| Hoary Vervain Verbena stricta | Rare | |
| Pearly Everlasting Anaphalis margaritacea | Common | |
| Woodland Sage Salvia nemerosa | Introduced Native – rare | Over 200 years, causes no risk. |
| Big Bluestem Andropogon gerardi | Uncommon | |
| Culver’s Root Veronicastrum virginicum | Ontario Native | Unconfirmed local status, I just love this plant! |
| Kalm’s St. John’s WortHypericum kalmianum | Common | This was growing wild along the driveway but I purchased nursery stock for the garden beds |
| New England AsterSymphyotrichum novae-angiae | Common | |
| Smooth Rose Rosa blanda | Common |
In the next article “I’ll show you how I’m using native seeds to landscape the “rougher” areas of our lot in the woods.
2 thoughts on “Planting Our First Native Garden”
Leave a Reply
Recent Posts
7 Totally Selfish Reasons to Choose Native Plants for Your Gardens
Grab a cup (or glass) of your favorite beverage, and let's delve into what I’ve learned so far about why it's incredibly important and wildly selfish to embrace landscaping with locally native...
Exploring the differences, benefits and drawbacks of Broadcast Sowing and Frost Seeding for Native plants.

I love this! So many interesting things to learn about. I’m working with a community garden this summer and we will be planting lots of wildflowers, cover crops, vegetables and medicines! I’m looking forward to trying my hand at Cucamelons!
That sounds like quite the project! I just like the word Cucamelon – how can you not want to try growing them?!